

Rear bumper 2
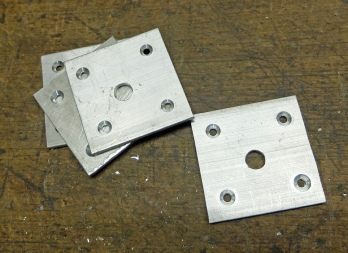
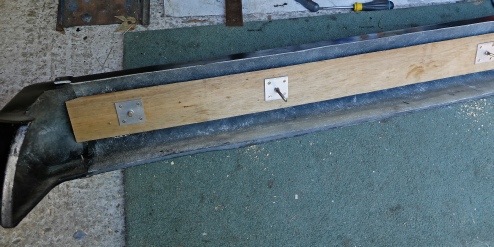
The next step was to make a method of attaching the bumper to the alloy tube. I cut some plates from 3.2 mm aluminium with a large 9mm centre hole and four 4 mm countersunk holes.
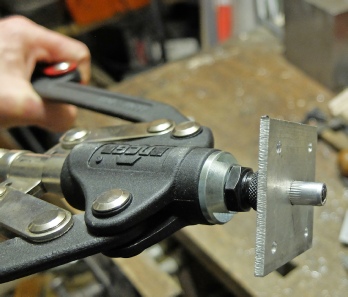
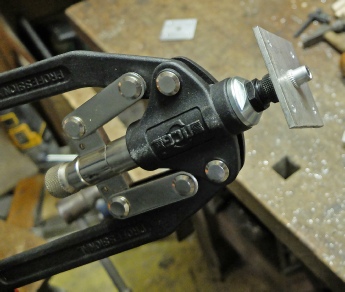
I put an M6 rivnut through the centre hole and fixed in place using the special tool which collapses the rivnut and forms a collar which locks it in place.
I enlarged the holes in the ply, which had previously held the screws which temporarily fixed the ply to the alloy tube, and pushed the protruding ends of the rivnuts through. I then fixed the plate to the ply with four 4 mm wood screws.
I screwed in some studding to keep the rivnuts’ threads from getting blocked and then sealed any gap between the ply and the back of the bumper with expanding polyurethane foam.
I then bonded the centre part of the ply to the back of the bumper with two layers of chopped strand mat which also locked the rivnut plates into position. I left the ends of the ply un-
The next step was to screw the bumper to the tube and bolt it to the car. I checked that the end pieces of the bumper fitted nicely to the car’s bodywork. I then removed them and prepared some “glue” made up from body filler thinned with a little laminating resin, tinted with a little black stain. I coated both sides opf the joint, slid the parts together and substituted pop-
When the glue had set, I removed the bumper and filled the void at the end of the ply with expanding foam. When that had gone off and been trimmed to shape, I fixed the end pieces of the bumper permanently in place with two layers of chopped-
I then filled all the holes and gave the whole thing a good rub down with 220 grade wet and dry paper. I degreased the surface with white spirit and put on several coats of satin black. Next day, I tempered this with a thin coat of black trim wax.
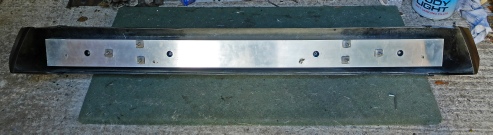
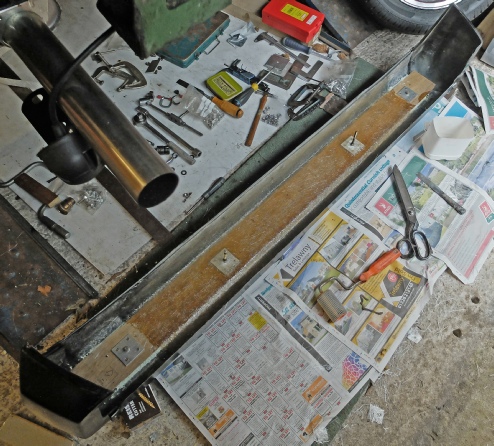
Left: the tube has been screwed to the bumper ready for re-
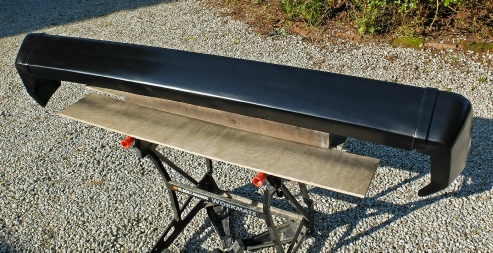
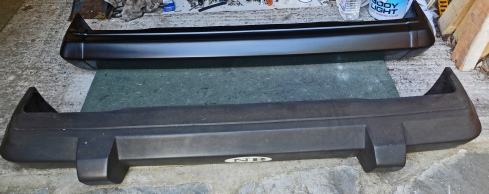
Left: the old and new compared. The old bumper weighs in at 21 kilos whereas the new tips the scales at 8 kilos.
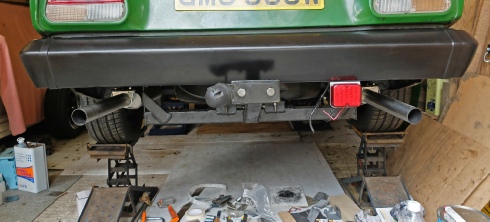
Left: the new bumper fitted to the car -
Collar formed on rivnut.

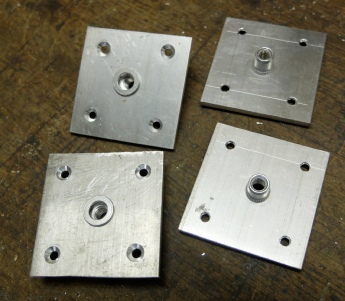
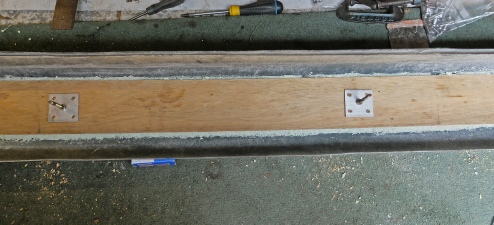
Left: the finished fittings.
Foam.
