


New rear bumper
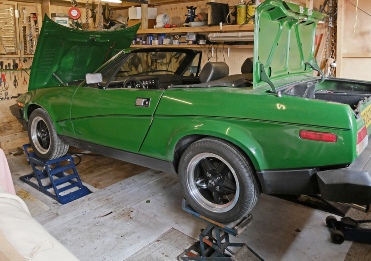
Time to get the car back on the ramps! Having replaced the US front bumper with my own slimmed down version, it was time to replace the rear with its enormous over-
I ordered a GRP bumper from Smith & Deakin. This came in three parts (like the original UK version, I think). Since I didn’t have a UK frame to fit the cover on, I had to make one myself -
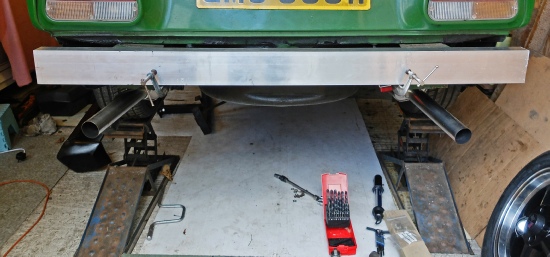
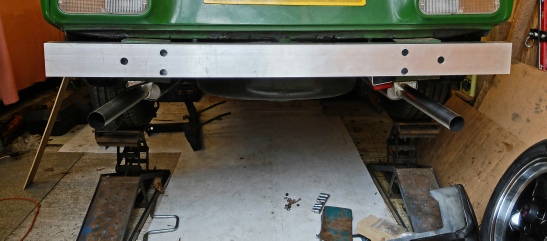
I bought a piece of rectangular section aluminium tube, 50 x 100 with a wall thickness of 3.2mm. Having temporarily fixed the end sections on with two pairs of M3 nuts and bolts, I judged that the tube needed to be 1450 mm long which, fortunately, turned out to be just right!
I clamped the tube in place (see pic left), tried out the bumper over the tube and played around with the height until it seemed that the bumper would be in the right position once it was fixed to the tube. I then marked out the position of the six fixing holes. The holes in the brackets are elongated in the up/down sense so there is some built in adjustment available.
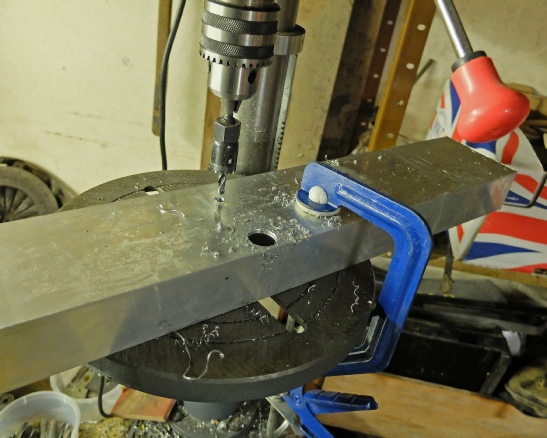
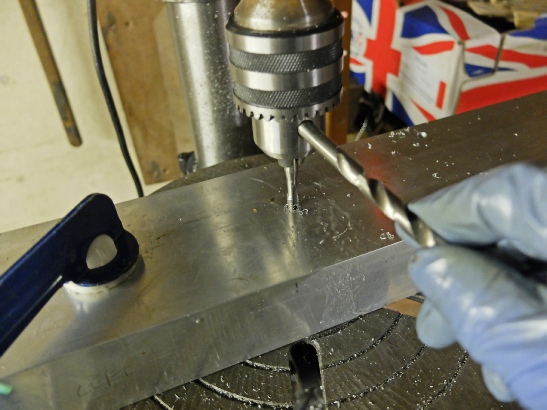
I centre-
Left: turning the chuck by hand to thread the fixing holes as described above.
Left: the tube temporarily bolted to the car.
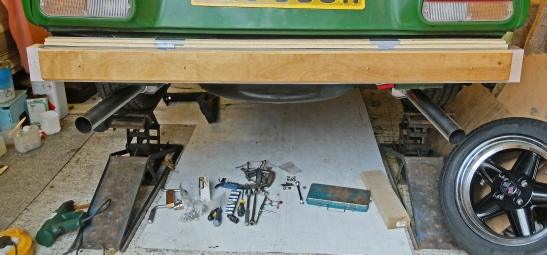
Next, I needed to fix the GRP to the tube. I decided to cut some 6 mm ply wood to fit as snugly as possible in the bumper. Then, I drilled more holes in the tube and screwed the ply to the tube, at this stage, with four wood screws.
Then I screwed the bumper temporarily to the ply (through holes in the GRP which would later be filled). I needed some temporary packing pieces to hold the bumper in the right position while I screwed it in place.
Left: you can see the five screws used to temporarily hold the bumper to the strip of ply.
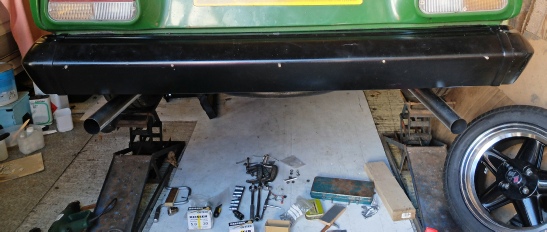
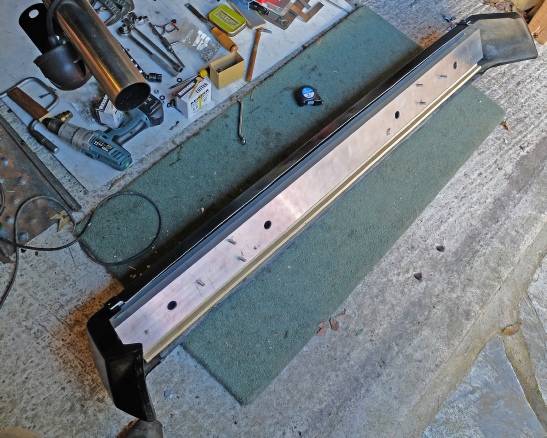
Left: I have unbolted the bumper assembly from the car ready for the next phase which involves providing proper fixings for securing the bumper to the tube and fibre-