


Under Construction
Greenhouse 3
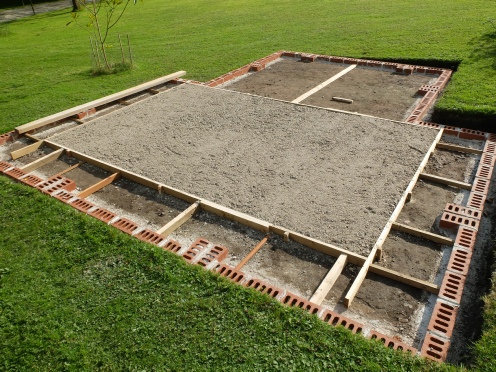
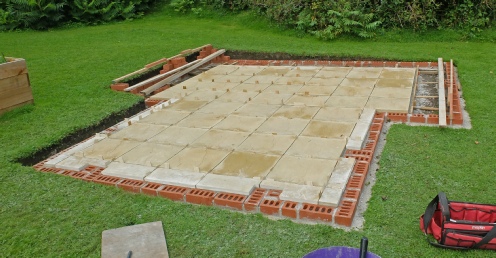
The plan is to have a paved floor laid on hardcore and sand but with earth borders on three sides in the main part of the greenhouse. The first course of bricks provides a guide to the thickness of the base for the paving slabs. However, where the beds will be I needed some timber guides. I hammered more pegs into the ground level with the bricks and fitted 2 1/2” deep boards in place. I screwed the pegs to the boards where I could remove the screws after the base had been laid and otherwise jammed the boards in place as shown in the picture left. I hope I have set it out so that the slabs will just come up to within about 20 mm to the edge of the boards. (Much) later, I will remove the pegs and the boards and butt up edging slabs to the brickwork and grout the 20 mm gap to the slabs with mortar.
I packed hardcore (actually ballast -
It’s much easier to do this if you have one person at either end of the board!
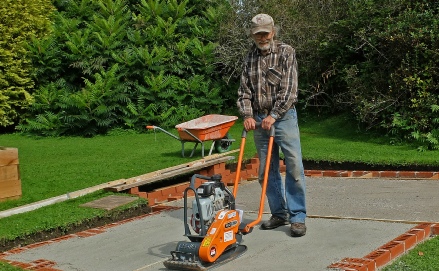
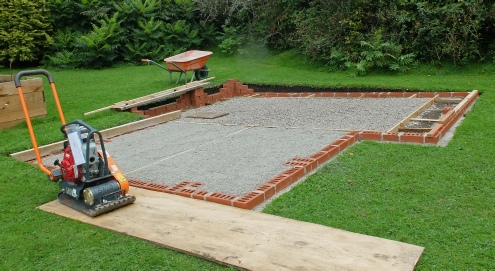
I then used a plate compactor (see pics below) to compact down the hardcore. Then I put on a layer of sharp sand, levelled it and compacted it. Then I did it again and that seemed enough. It’s quite difficult to compact the sand as the plate tends to throw up a bit of sand as you turn the machine round corners but, hopefully, it will be ok.
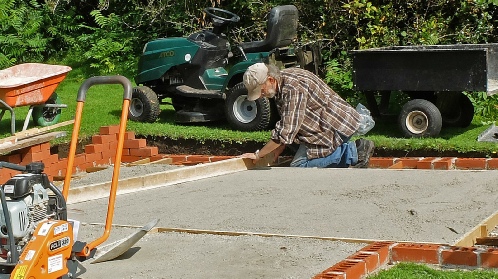
Finally I spread a thin layer of sand on the surface and ruled it flat. Then it was time to lay the slabs.
I had planned out how I was going to lay the slabs and started near the middle using the timber guide embedded in the base to align the slabs and 5 mm thick pieces of wood as spacers (the ones I had used to space the Karndean Palio Clic flooring away from the wall in a previous project). The slabs just go down on the sand and receive a few taps from the haft of a hammer on the surface to seat them and a few taps on the side to get them up against the spacers.
I had to remove the timber guides eventually. I did this by inserting wood screws into the wood, clamping on a slide hammer with a Vice Grip on one end and tapping it out bit by bit. They came out quite cleanly.
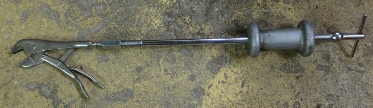
Slide hammer with Vice Grips (actually a Mole Wrench) attached.
Next, the serious bricklaying begins…
Laying the slabs.
Having set out the corner guides, as detailed on the previous page, I used a string line between these corners to lay the rest of the first course of bricks. I set out the positions of the piers as evenly as possible using whole bricks as much as possible. Of course, the piers at the entrance have to be set out according to the dimensions in the design. (I talk about how I go about laying the bricks on the next page.) When the first course was completed, I removed the corner guides.
I decided to leave the spacers in place rather than grout the slabs immediately as that allows rain to easily and evenly drain into the sand and hardcore which, I feel, will help to settle the slabs into place.