Home
Home

There are a number of ways to make a pattern or buck for making a mould. For example an egg crate of interlocking pieces of ply perhaps covered with chicken wire then cloth dipped in plaster of paris then polyfila etc. etc. Or you could saw and sand your shape out of polyurethane foam or use a hot wire cutter on polystyrene foam or saws, planes and sanders on blocks of wood. Perhaps “found” objects like plastic bowls or bottles might have just the shape needed.
I tend to use softwood which can be easily glued together, shaped relatively easily to reasonably fine tolerances and doesn’t easily get accidentally dented (like foam for example). Also wood can be easily filled and takes paint to produce a glossy surface if required.
Close grained pine often found in old joists etc. is great for carving when you can get it.
For complex and very fine shapes you can’t beat lime which works almost identically with and across the grain (as used by wood carving heroes Grinling Gibbons and Tilman Riemenschneider ). But I digress!
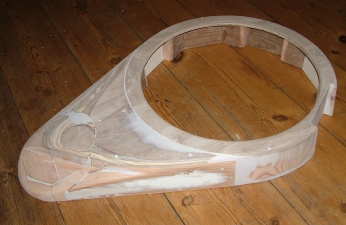
I first glued some segments together and cut them into a ring on a band saw with a slight taper. In the top picture you can also see a smaller ring which formed the front end of the pattern.
I then added some sides and ply on the top and with some sanding, filler, more sanding etc. achieved a smooth shape.
I then sprayed the pattern with several coats of paint, filling and rubbing down with wet & dry paper in between coats as required to get a good finish.
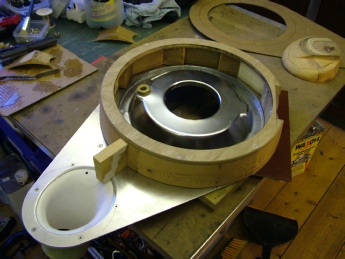
I then applied release agents, gel coat and three layers of chopped strand mat.
This formed the mould when the pattern was extracted. I the laid up two layers of mat to form the actual cover.
More construction next…
Making the cover

This shape is to clear the framing under the bonnet
This cut out is to accommodate the bonnet catch