
 Home
Home


I2C Temperature sensor for Feather controller
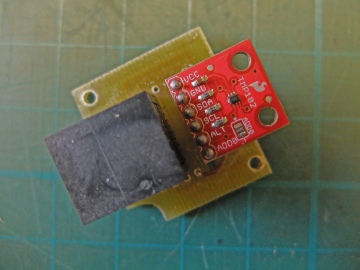
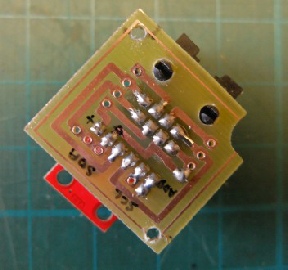
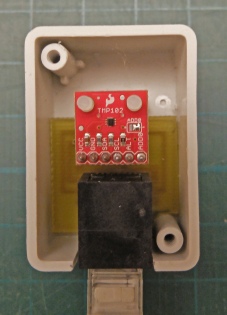
As before, I am using the TMP102 sensor mounted on a Sparkfun breakout board. I am again using RJ45 cables and connectors as they are cheap and can be had with plugs on flat cable which fits nicely under carpet etc.
I have identified better suited RJ45 sockets (Rapid 50-
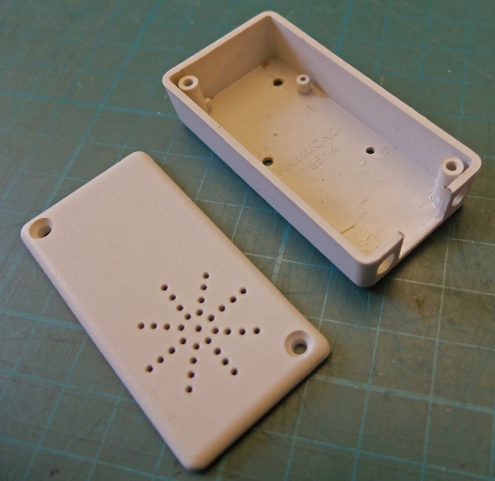
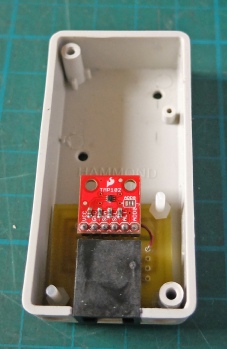
I’m using the Hammond 1551K box as before. I have drilled holes to allow air to circulate. Some internal bits and pieces in the box need to be cut off but that can easily be done with a sharp chisel.
The opening for the socket can be cut by sawing the two vertical cust with a fne-
Plenty of room in this case! (Since the Feather runs at 3.3 volts, I no longer need the level changer (5/3.3 volt) I needed on my previous version.
The PCB is secured with M2.5 nylon nuts and screws.
Next: a port expander working on I2C to enable the controller to switch more things on and off.
I’ve tested this with a 2 metre cable and there have been no problems. I’ll be testing the setup to see the maximum cable length I can get away with. My prious unit which used the Arduino Uno managed at least 10 metres but I struggled with the Adafruit Trinket to get more than a few inches.
Subsequently, I found a smaller box at Maplins (Hammond 1551G) and made a smaller unit which will I will stick to with future sensors.