 Home
Home


Cubby lid and frame construction
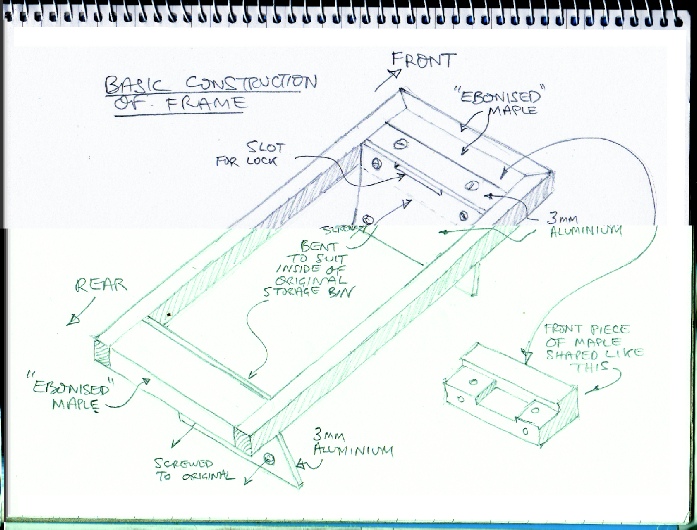
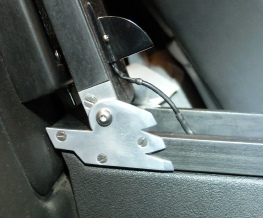
The frame fits over the top of the original moulding and is attached by means of pieces of 3 mm aluminium which are cut and angled to fit against the front and back inside faces of the original compartment. Riv nuts fitted into the plastic take countersunk machine screws to secure the aluminium plates in place.
Screws secure frame to original


Screws secure frame to original
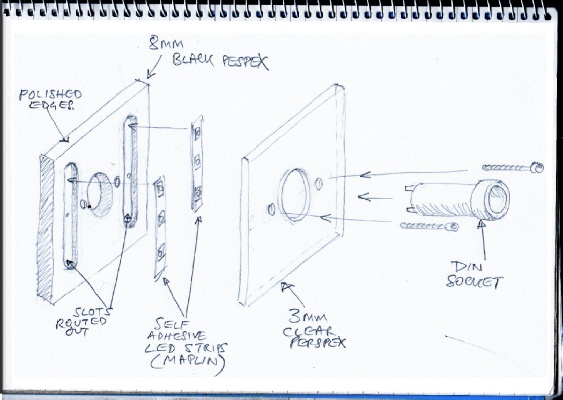
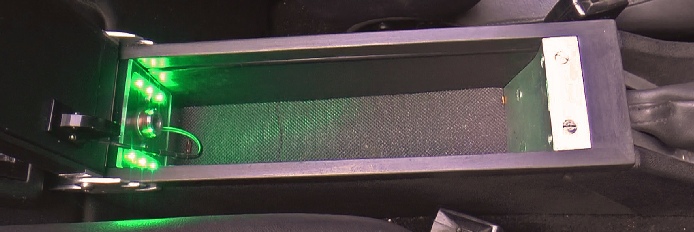
The light assembly at the rear incorporates SMD LED strips (from Maplin) and a DIN type power socket rather than the normal cigarette lighter type. The DIN clips in with a bit of a positive lock which I thought would be good. However, accessories to plug in such as USB chargers are much less common for this type of socket.
The LEDs are fitted into slots cut into a piece of Perspex. I used a milling machine for this but a wood router could possibly be used with care and several cuts. Alternatively, you could sandwich two pieces of Perspex together and cut the slots out of one of the pieces by drilling four holes and cutting between them with a piercing saw or fret saw.
Polish the edges by first finishing with 100 grit then 240 grit silicon carbide paper then polishing with Solvol Autosol or with a motorised polishing mop and Tripoli (brown) compound.
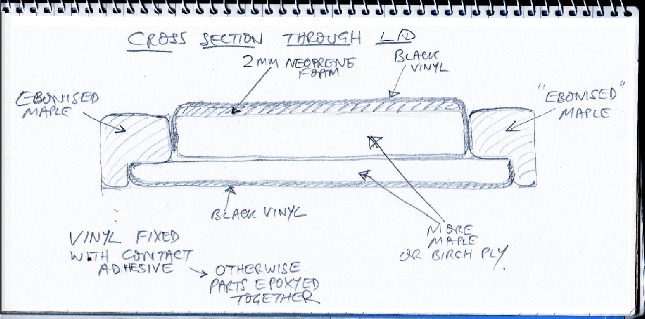
The lid is made from several components -
It is finished on three sides with an “ebonised” maple moulding (see cross section etc.) The underside is finished with another vinyl covered piece of material.
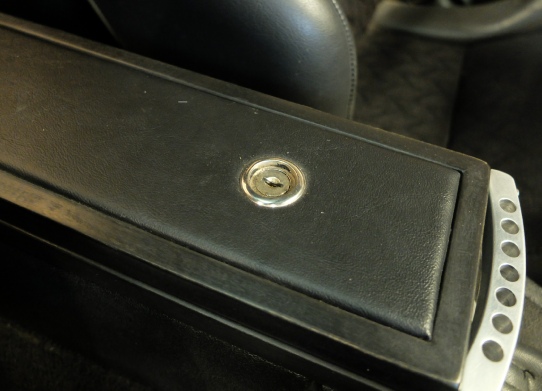
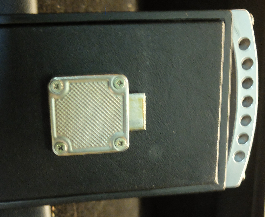
A small cabinet lock is fitted (Ebay) so the bolt engages with the slot formed in the frame (as illustrated in a previous sketch).
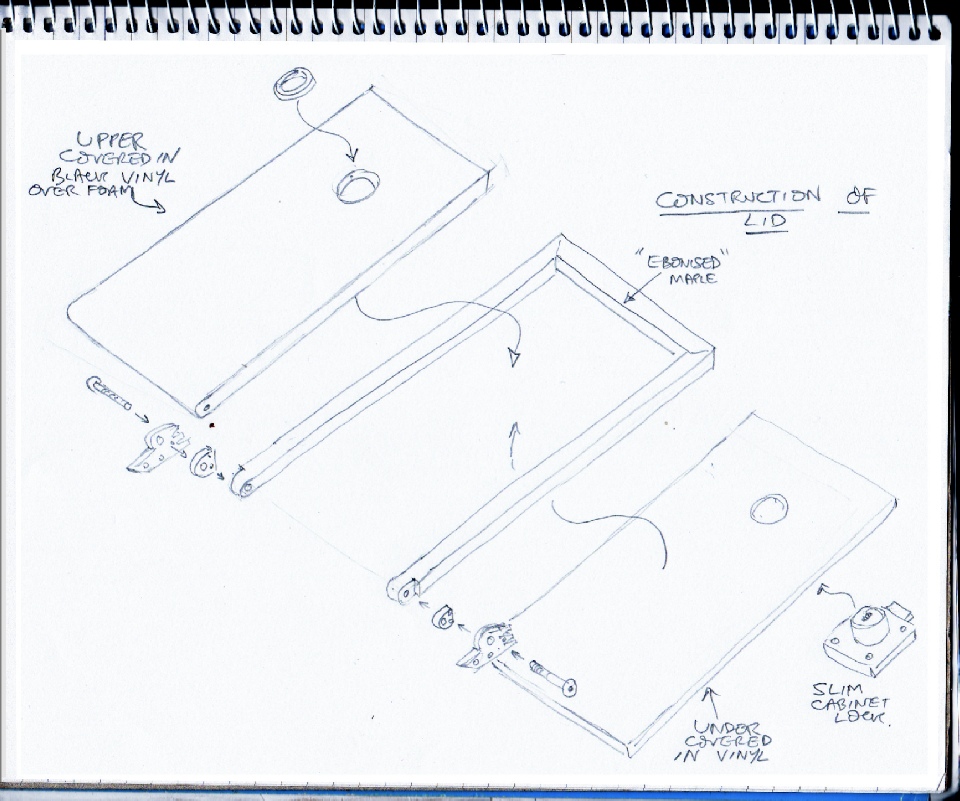
The hinge pivots on a button-
The handle is piece of 10 x 10 mm aluminium bar. Take a long bit (say 3 feet) and bend the middle round something of large diameter such as a gas bottle. Cut out the middle curved bit and file the flats. Fix the handle in a drill vice with the filed surfaces uppermost (having centre-
You then need to counter bore the hole from the front to allow a cap head screw to seat. This is tricky without a cutter with a pilot to fit through the hole because of the angle of the aluminium. However, with care you can use a hand drill at a slight angle to counteract the angle of the aluminium. Once the initial cut has been made you can straighten up the drill.
Now carefully mark out the “lightening” holes, if you want them, and drill.
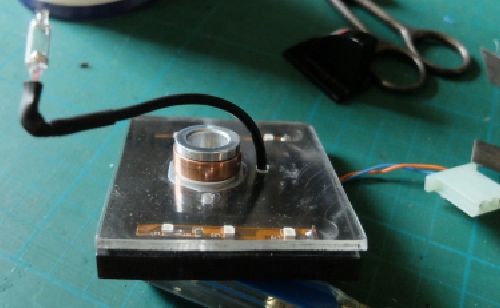
Below, the light unit being constructed. Also, the mercury switch.

Frame construction
The light assembly
The lid, lock and hinge