 Home
Home


Arch construction 2
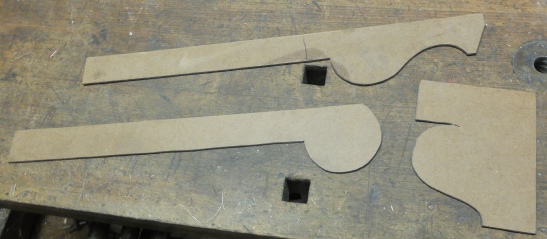
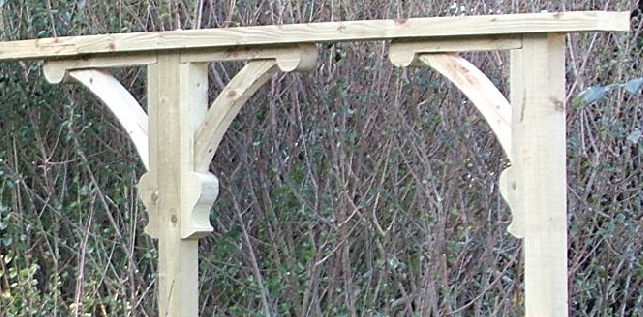
I start with cutting the components for the brackets (seen here on another arch). There are three parts. Parts 1 and 2 need templates but part 3 is just the segment of a circle. This can be cut out using a jig as will be described later.
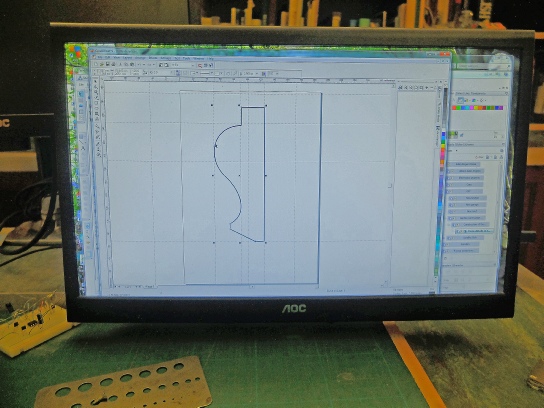
Where things have complex curves like part 1, I find it helps to use a graphic arts type program or CAD program which can draw with Bezier curves. These can easily be shaped and adjusted and always look smooth. I use CorelDraw which I bought many, many years ago but version 9 still works well (on Windows 7 anyway). There are free programs and Apache Open Office can be persuaded to do the job.
Part 1
Part 2
Part 3


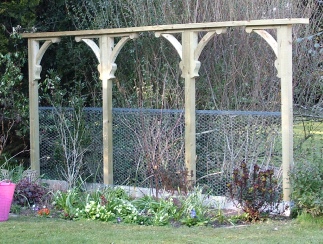
This belongs to the pergola, not the arch!

Corel Draw used to design the parts
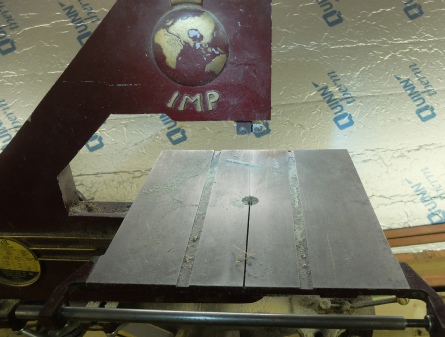
I cut most of the straight parts using a table saw then continue with the curves on a band saw. You could cut everything on the band saw but using the table saw makes it quicker (and straighter).
Parts 1 and 2 are cut from 3x3” timber and so are probably beyond a jig saw so will need a band saw. Otherwise, you could roughly cut them out with a hand saw then file them to shape with a rasp or pare the edges with a chisel. There’s always a bow saw… All these methods will be rather slow!
Part 3 is cut out of 2x6” and so could be cut with a jig saw (see next page for the band saw method).
Historical note! The band saw shown above is part of a Coronet Major Universal Woodworking Machine. My Dad bought this for me (from a wonderful department store in Holborn, London called Gamages) when I was 21 as I had expressed a wish to follow a career in craft work of various kinds. It’s a very strong and solid piece of kit and has been incredibly useful to me over the years. Thanks, Dad!